How to install Linux on a Chromebook
What is Linux?
You may have heard of Linux: it's a free open source operating system that supports thousands of applications from games to video editors. Also, Linux is completely open source, meaning you can customize it to look or act however you want. But don't worry, this installation won't completely delete chrome OS from your system, you can actually have them both running at the same time!Step One: Enable Developer mode:
Press the keys [escape]+[reload]+[power] and wait for a screen to pop up. It should look like this:

After you press [enter], your Chromebook will reboot. This screen will appear:

Press [control]+[d] again and your Chromebook will reboot once more. You will see this:

After developer mode is fully installed, it should restart for the last time and boot up into the Chrome OS setup wizard as you might have seen when first setting up your Chromebook. Add your account and you're good to go! Please note that every time you boot up your Chromebook in developer mode, it will show the "OS verification is off screen" press [control]+[d] to bypass it.
Step Two: Install Linux using Crouton
Download Crouton from GitHub here by clicking the link at the top of the page. Save the file to your "Downloads" folder.
 |
| Once you get to Github, click the highlighted link |
Next open crosh, the Chrome OS developer shell, with [control]+[alt]+[T] and type:
> shell
A prompt looking like this should appear:
chronos@localcost / $
> shell
A prompt looking like this should appear:
chronos@localcost / $
At this point, you have a few choices of what to install:
Desktop Environment 1: Xfce
Xfce is a lightweight (low on computer resources, good for older/under-powered Chromebooks) desktop environment with many helpful pre-installed apps (called Xfce goodies). This desktop environment is a bit tricky to use and doesn't look great when you first install it, but it is very customizable and can be tweaked to look exactly the way you want.
:max_bytes(150000):strip_icc()/xfcewindowmanagertweaks-56a5aaa55f9b58b7d0dde496.png) |
| Xfce |
$ sudo sh -e ~/Downloads/crouton -t xfce
For touchscreen Chromebooks type:
$ sudo sh -e ~/Downloads/crouton -t touch,xfce
If you chose Xfce, click here to jump to the next step.
If you chose Xfce, click here to jump to the next step.
Desktop Environment 2: KDE
KDE is a great-looking desktop environment. It is also very customizable and easy to use. Unfortunately, there are not many KDE users so there may not be as many tutorials and guides. KDE is not as lightweight as Xfce.
 |
| KDE |
$ sudo sh -e ~/Downloads/crouton -t kde
For touchscreen Chromebooks type:
$ sudo sh -e ~/Downloads/crouton -t touch,kde
If you chose KDE, click here to jump to the next step.
Desktop Environment 3: Gnome
 |
| Gnome |
To install Gnome type:
$ sudo sh -e ~/Downloads/crouton -t gnome
For touchscreen Chromebooks type:
$ sudo sh -e ~/Downloads/crouton -t touch,gnome
Unity is the default desktop environment for Ubuntu and is a lot like Gnome but slightly more resource heavy. You can customize Unity using the Unity Tweak Tool which you can install later.
If you chose Gnome, click here to jump to the next step.
Desktop Environment 4: Unity
 |
| Unity |
To install Unity type:
$ sudo sh -e ~/Downloads/crouton -t unity
For touchscreen Chromebooks type:
$ sudo sh -e ~/Downloads/crouton -t touch,unity
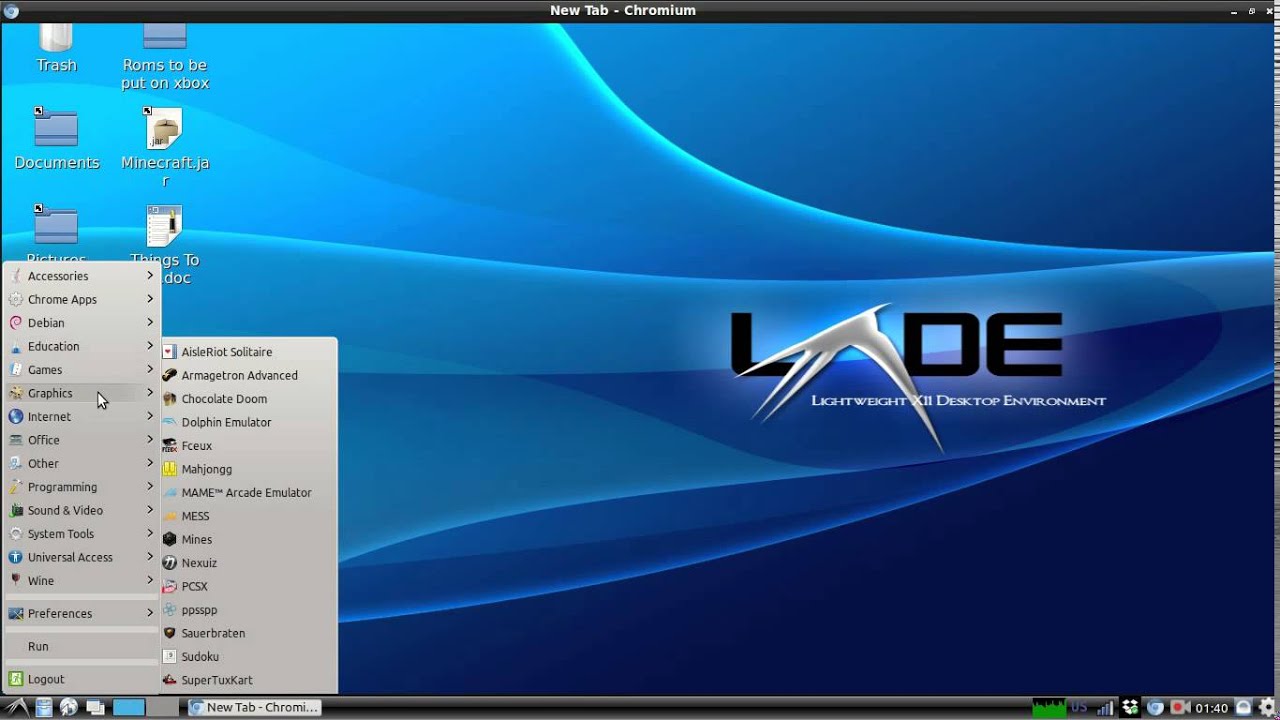
LXDE is very lightweight and can run on only 256 MB of RAM. LXDE should run on even the worst of Chromebooks at very fast speeds. LXDE is moderately customizable with a pre-install appearance editor. LXDE is easy to use and has no real limitations to functionality.
If you chose Unity, click here to jump to the next step.
Desktop Environment 5: LXDE
Installation takes 15 - 25 minutes. When it is done it will ask you to choose username and password. Now that installation is complete, you can enter your desktop environment at any time now by opening crosh ([control]+[alt]+[T]) and typing:
> shell
Then:
$ sudo start<your desktop environment>
Example
$ sudo startkde
The only exception is that if you chose xfce, type:
$ sudo startxfce4
Once you have your desktop environment running, use the keyboard shortcuts [control]+[alt]+[shift]+[f1] and [control]+[alt]+[shift]+[f2] also known as [control]+[alt]+[shift]+[back] and [control]+[alt]+[shift]+[forwards] to switch back and fourth between Chrome OS and your chosen Linux desktop enivironment.
Now that you have Linux installed on your Chromebook, you can check out my other blog posts to find out many new things that you can do on your Chromebook with Linux. Make sure to comment and subscribe, thanks for reading.
Comments
Post a Comment